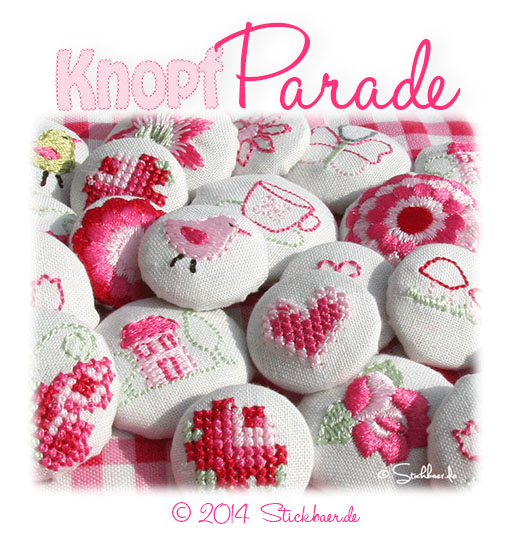
Only a few weeks ago I presented to you my Cute Fabric Buttons.
Do you remember?
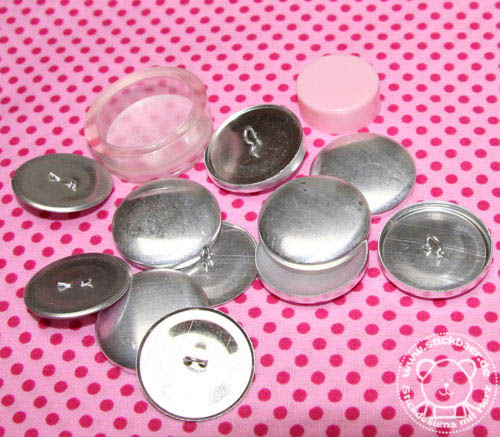
For the buttons on the image I used the raw buttons by Prym. There are lots of this kind of buttons available in the …bay. There was one drawback though with them, it iss not easy to center the motif and one only notice that when the button is clamped. So this button is crap.
What a pitty.
At this time I didn’t know about the buttons that are sold at Snaply-Nähkram.
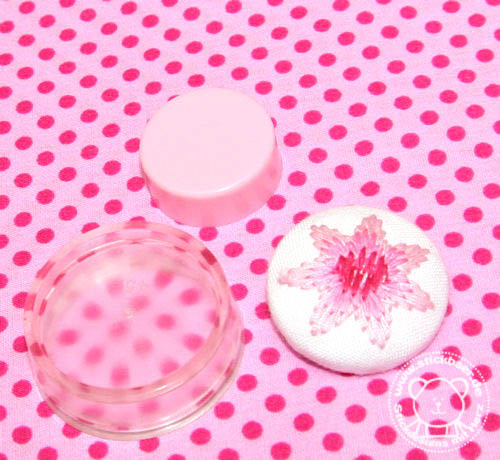
With these it is much more easier, they are flat, and so they are a better basis for our Fabric Buttons.
And, they have a transparent tool so you can center the motif perfectly.
Watch here my little tut:
This is the beginning. there is the transparent button bed (is this the right name?) and the pink tool to attach.
The blanks have two parts.

So you do embroider your motif first.
BTW, the file is here.
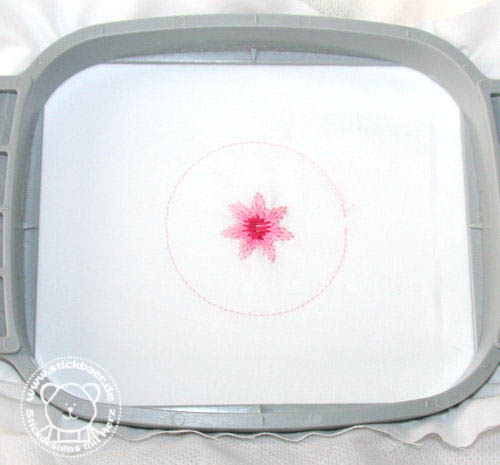
The outer circle is for the 28mm buttons. I am cutting the motif out and remove the backing.
Now I am taking the pink and the transparent tools and the 2 part button blank.
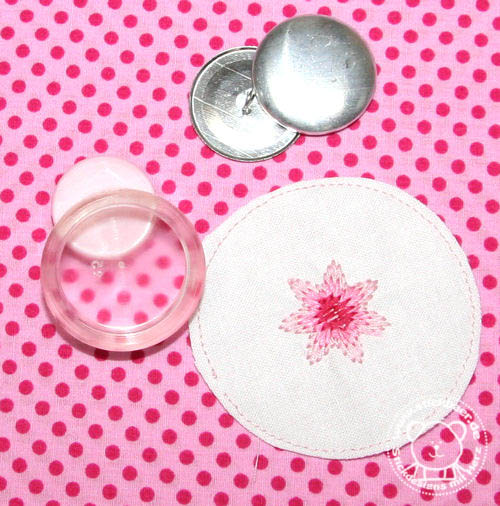
Put the fabric onto the upper button part and place it into the transparent tool.
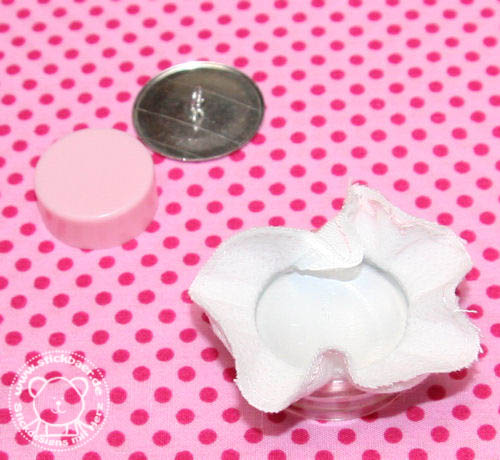
Check how the motif is placed and correct it if needed.

Now move the fabric ends into the tool and place the button lower part on top of it.

Use the pink tool to press the lower button part into the transparent tool.
When done remove the ready made button from the transparent tool. As this is of sof plastic this is easy.
Finally put the button onto your project.
This here is one of our Little Bags.
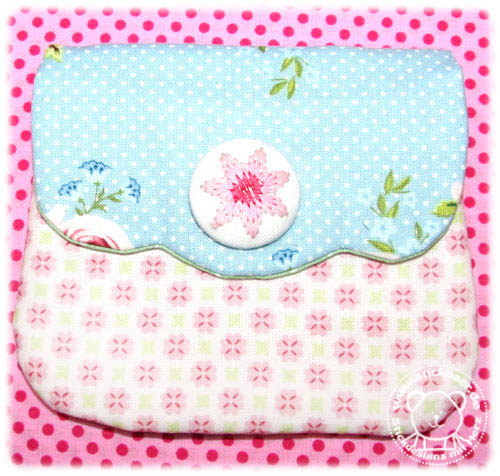
You will see it is really easy.
For our Cute Fabric Buttons you will need the 28-mm-Knöpfe (buttons) and the 22-mm-Knöpfe.
The result is absolutely enchanting, perfect and unique buttons.
And more, when you have some exclusive fabric left over create buttons from these.
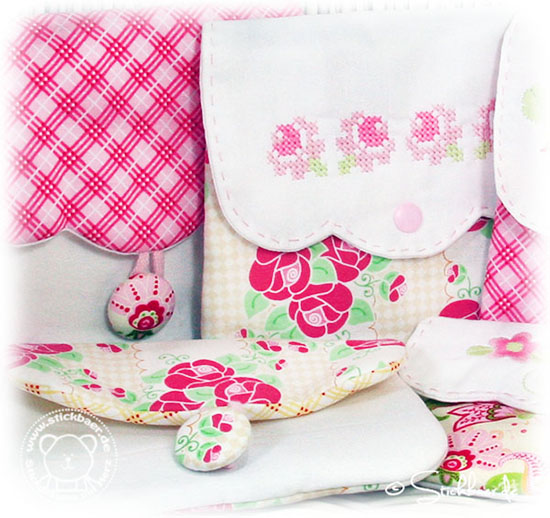
(This picture: Big Bags ITH)
Viele schöne Dienstagsgrüße
Eure

Schreibe einen Kommentar