The idea for this new embroidery file I got from one of my longtime testers, Cornelia of Zwergenwelt.
Cornelia desired a quilted fabric, to be more clear, an embroidery file to create own fabric with different patterns in different sizes. It sounded an interesting idea and today I am sharing with you the result of my work.
The embroidery machine is doing the quilting work: With the file „Quilted Fabrics“ you can quilt squares, rectangles, circles, ovals and hexagons in perfect patterns.
Go and clamp your batting and create your own quilt fabric.
And to make it not easy for you you can chose from 4 different sizes.
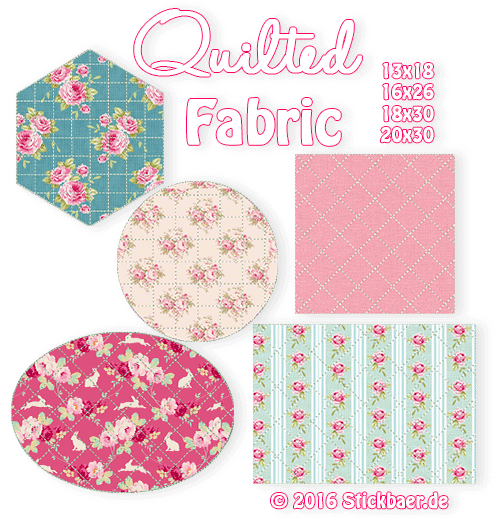
The quilted fabrics you create can be used for a lot of things.
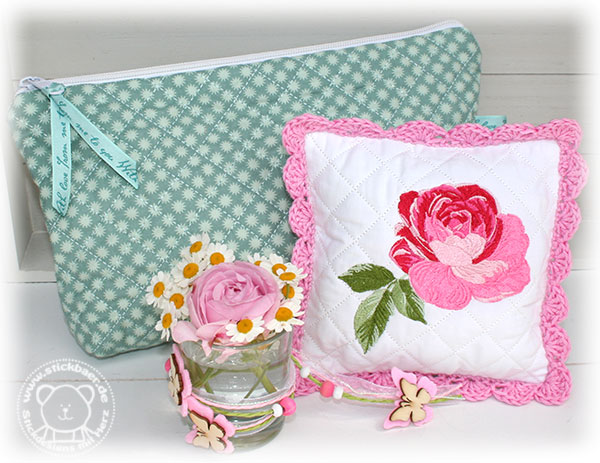
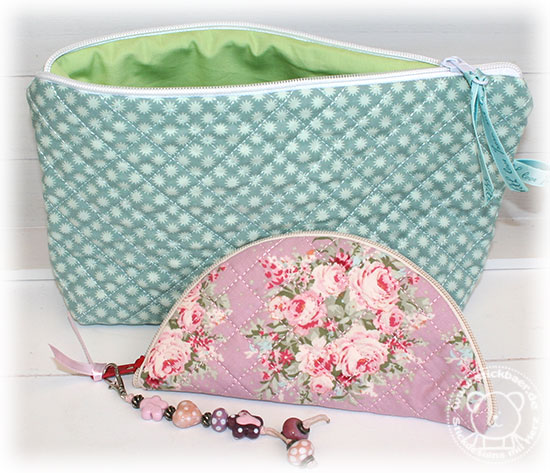
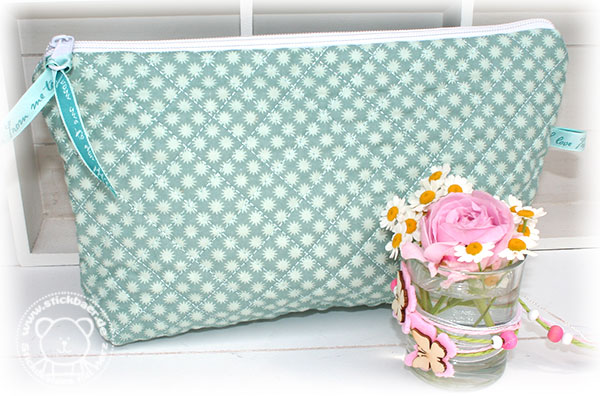
I did 2 cosmetic bags from it.
When you like them, here is the instruction:
First the half-round bag:
First embroider the file with the circle. I used soft stabilizer. This stays with the fabric.
Atop the stabilizer I put a 5mm batting and on top of this comes the rose fabric. Alltogether is clamped to the hoop and the embroidery machine does it’s work.
After embroidering the circle is cut out with 5mm seam allowance.
Take the divisible zipper and divide it. It has to be 12cm longer then the circle circumfence.
Put it to the edge, teeth down to the inside. Quilt it with the zipper foot. Looks like this:

Cut a circle from lining in the same size as your quilted circle.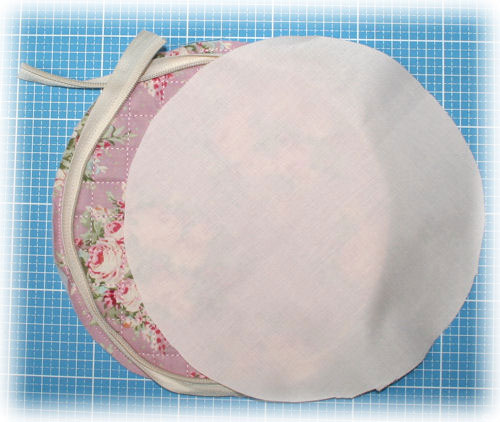
Place the lining right to right on the circle with the zipper, to loose ends of the zipper to the inside.
Fixate it with pins or wonderclips.
Sew from the backside (the quilted one) directly onto the previousely sewed seam.
Turn your project and get the zipper ends. Close the opening.
Now the challenge is to join the zipper. This is how it looks now.
The zipper is now looking to the lining side.
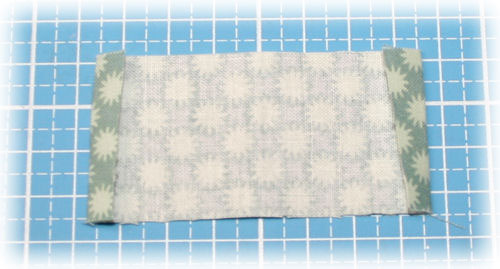
To bind the loose zipper end cut out a 3x8cm piece of fabric and iron the edges.
Fold the fabric right to right and sew the open left and right sides. Turn, iron and move it to the zipper end.
Secure all with a seam.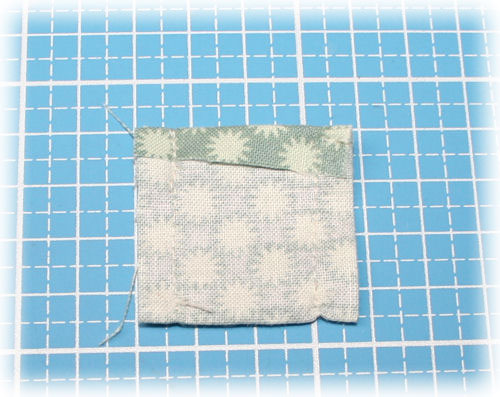 Does you project look like the pic below?
Now put over the bag (the zipper moves inside), and you are done.
Do a little embellishment on the zipper.
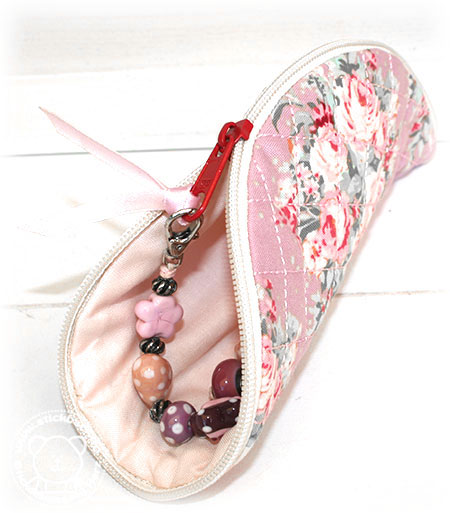
The other bag I did from 2 quilted rectangles. I used the 20x30cm file, but the 13x18cm file and the other sizes will work as well.
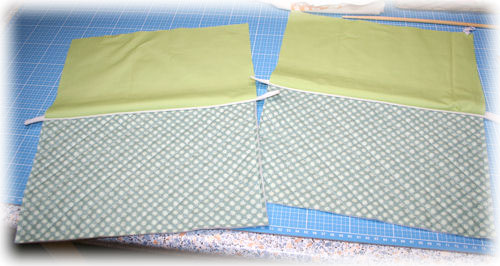
First do the rectangles. With the rectangle as template cut 2 pieces lining.
The zipper has to be 10cm longer then the longer side of the rectangle.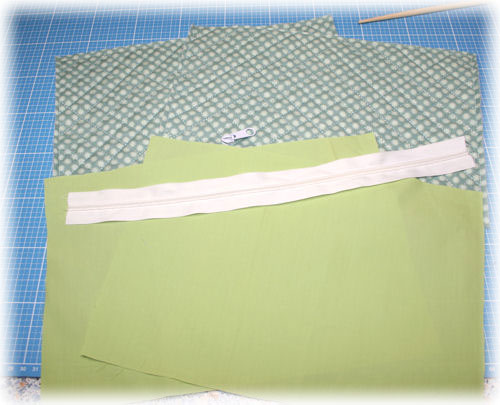
Divide the zipper, put it with teeth down onto the quilted fabric.
Sew all 3 pieces together, try to be as close as possible at the teeth.

Place the zipper…
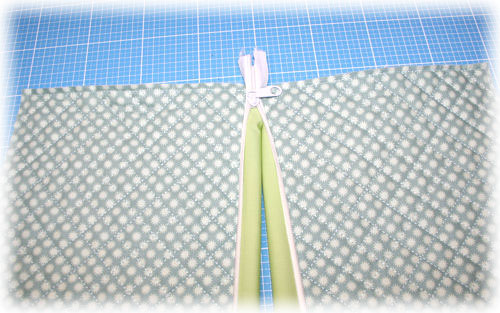 … and close it for 1/3.
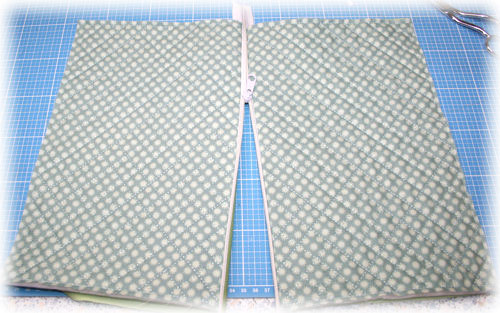
Now again open your pieces and put it together, that the quilted fabrics and the linings are one above the other.
Do one seam around, leave an 8cm opening.
Pull the bag, do not yet turn.
All 4 corners will be quilted. Do a line in 2cm from the corner and quilt the corner.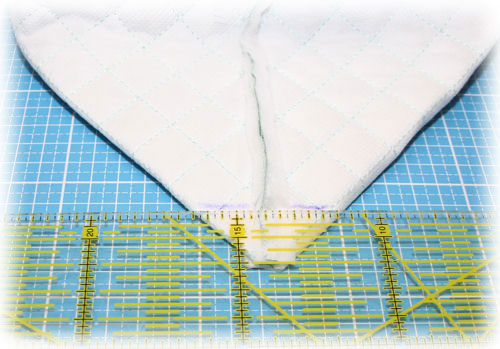
Cut the remainder.
Do this with the upper fabric and the lining corners.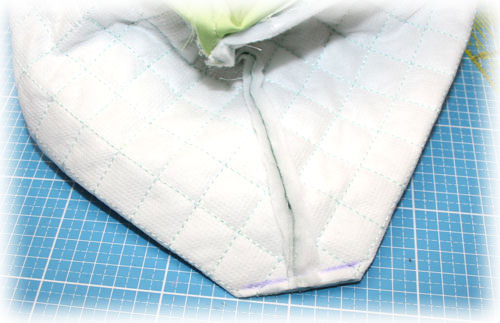
Now it is time for turning.
Close the turning, do some embellishment work.
And here we have 2 perfectly quilted bags. Great!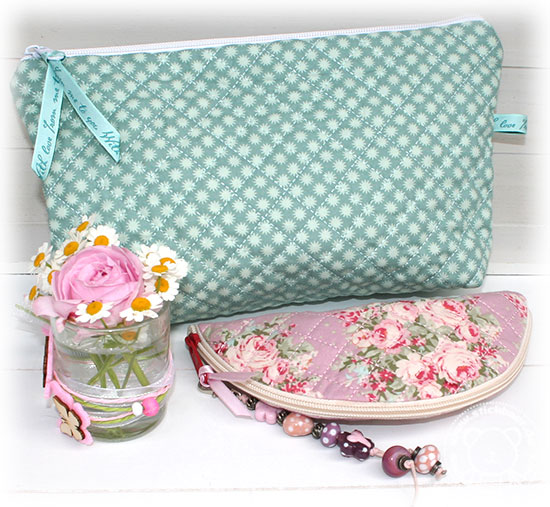
Of course you can do some embroidery with one of our embroidery motifs.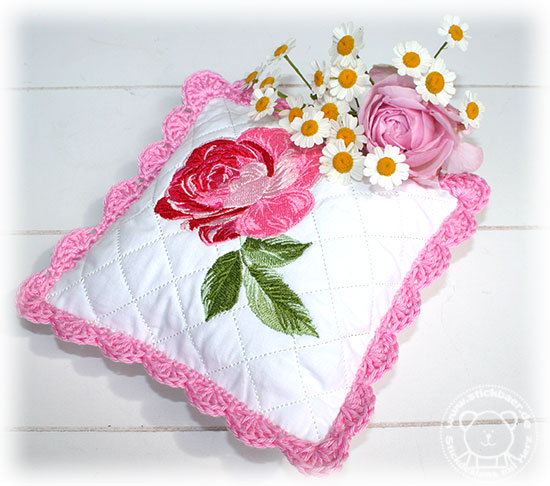 This is our „Rose et Lavande“.
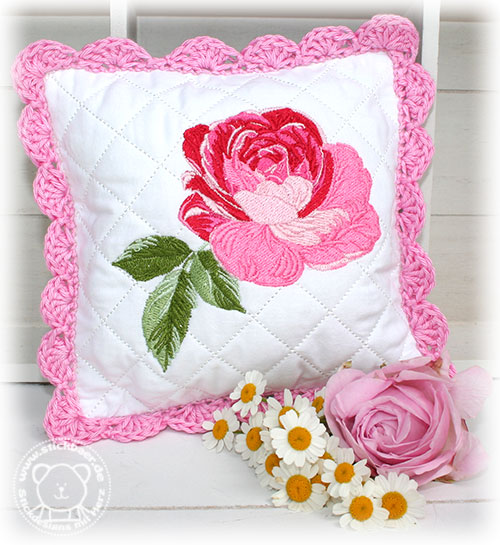
Let me know about your projects.
Thanks again, Cornelia for this idea.
You can get the new file today in our Stickbaer Shop.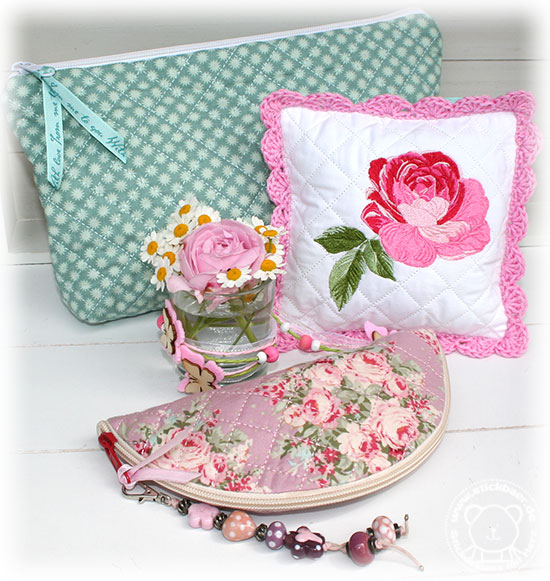 Have a great weekend.
Liebe Grüße
Eure






Schreibe einen Kommentar