Finally we have summer. Now it is the time for all the summer activities:
Swimming in the lake or the pool, walking in the wood, garden parties, barbecue …
And of course we want the summer not only outside but also in our home. Let’s decorate our home with the summer!
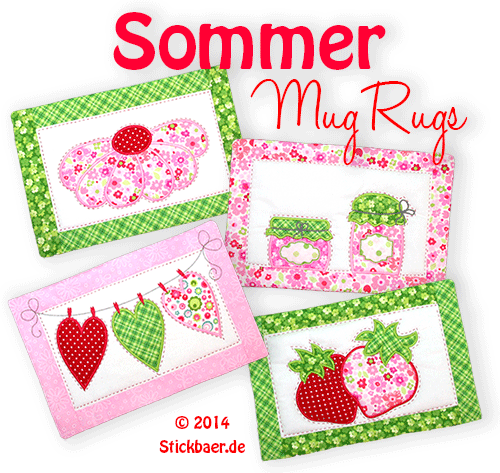
What about some all new summer mugrugs?
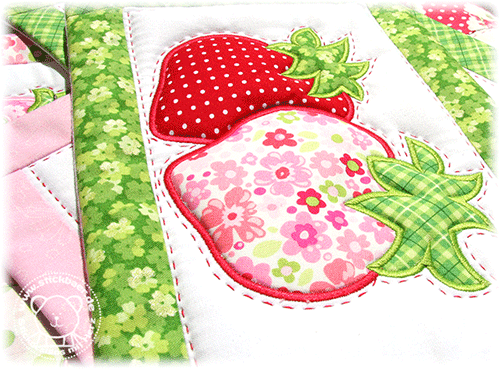
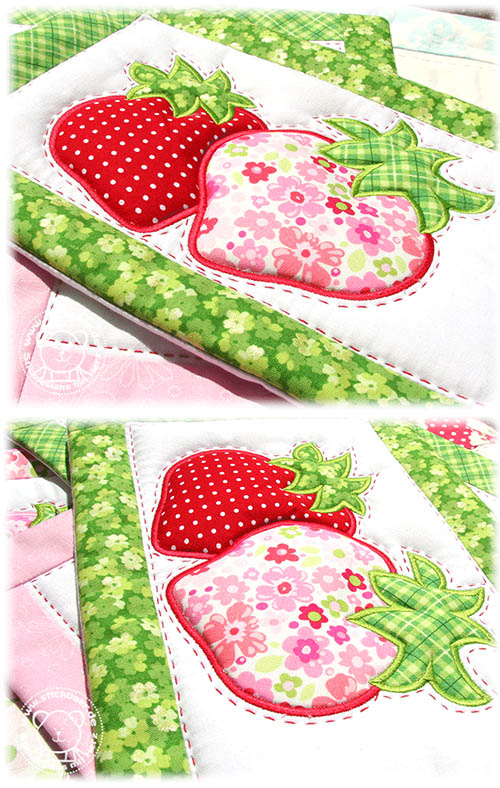
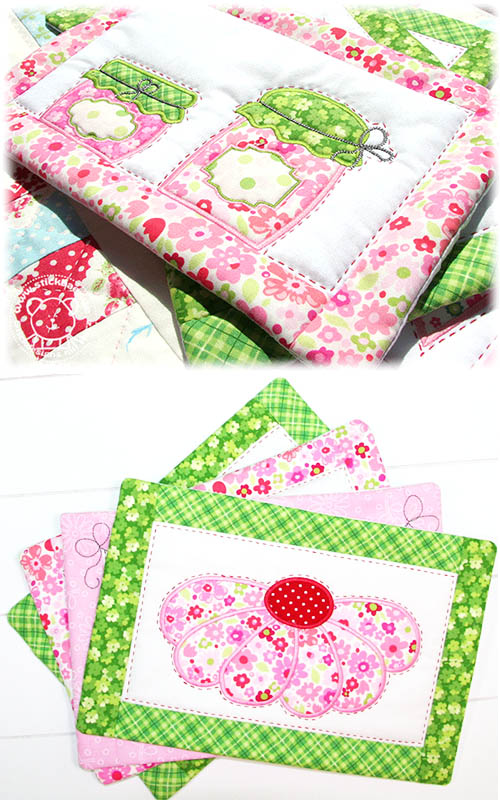
The strawberries are looking plastic because I placed a thick 1cm volume batting during the embroidery underneath. And, at the end I added little running stitches. This intensifies the effect and looks really pretty.
Do this by using a thicker sewing thread or hand-quilting thread and stitching through the fabric up and down …
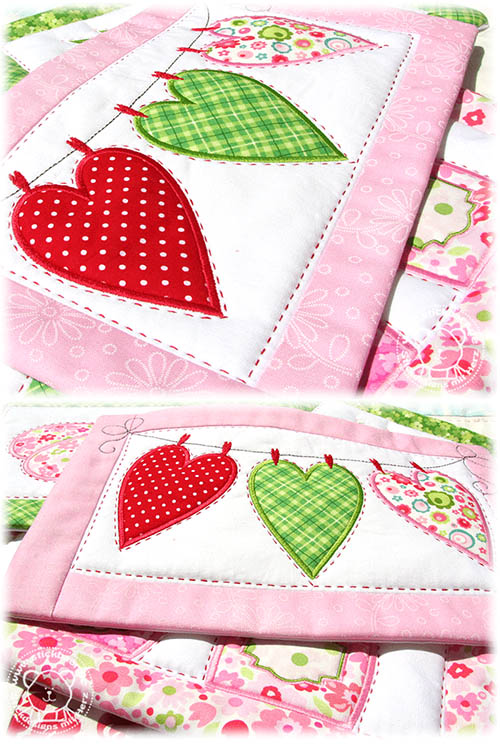
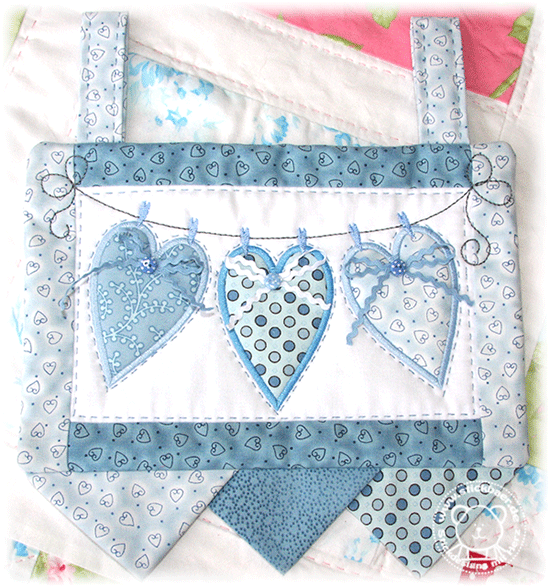
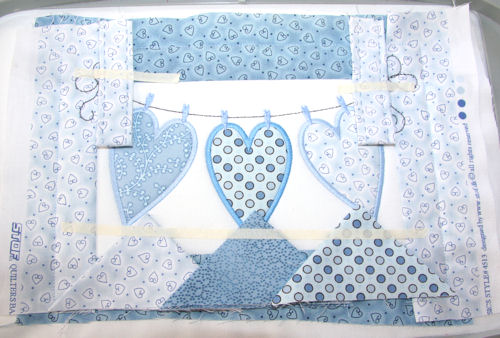
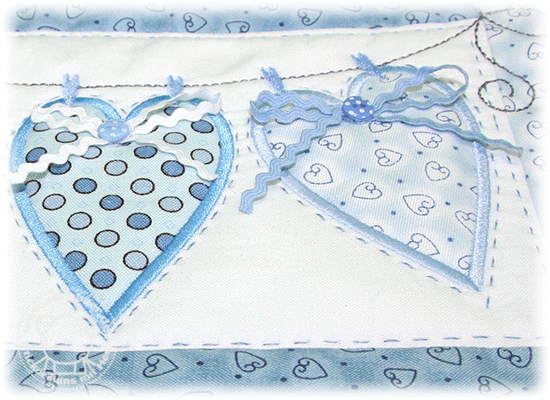
The hearts on our mugrugs are embroidered with the 5mm batting.
They again are quilted, I like this.
Summer time is time for preserving fruits. That’s why a summer mugrug should not miss preserving jars.
And lots of flowers, big flowers.
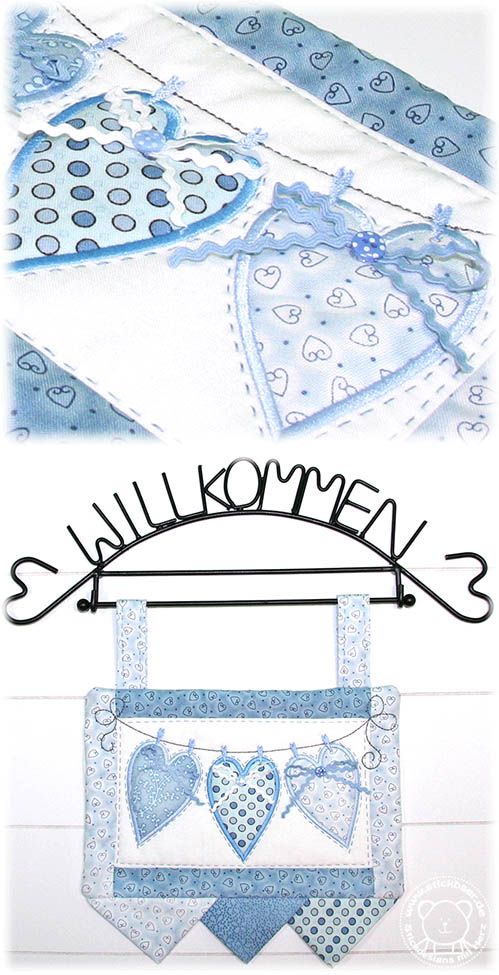
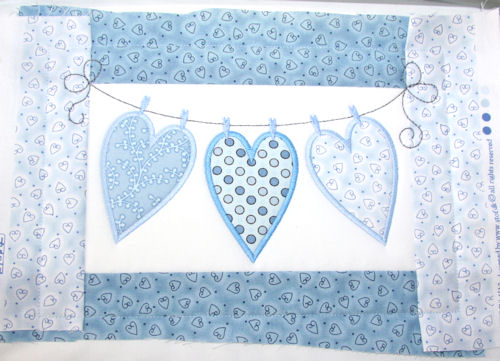
This little wall hanger I did with the 16×26-heart-mugrug file.
It is be done really easily and why not complete your set of new mugrugs with a wall hanger with the same motifs?
…………………………
Here is the tutorial:
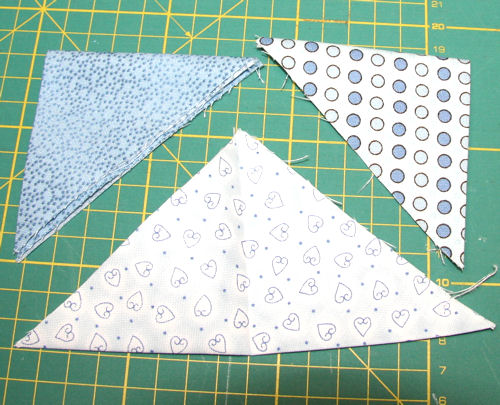
First you need 3 squares of fabric. For the 16x26cm file I am using a length of 11cm.
When you go for other sizes you need to adapt the sizes. For the bigger mugrugs you can use 4-5 pieces of fabric.
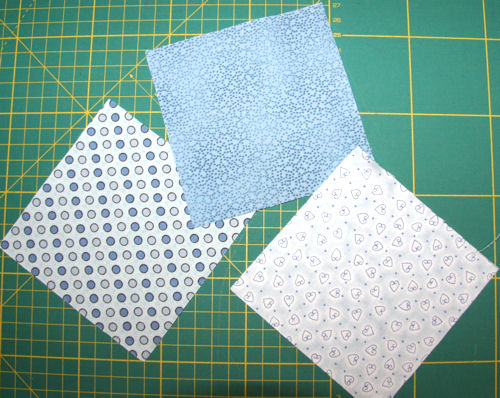
Iron the squares diagonally, once, a second time. You get 4 layer triangles. Put them aside.
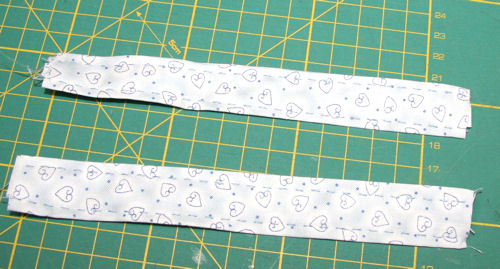
For the hangers you need 2 ribbons. I am using fabric stripes I ironed side to side. You can also use woven tape. They have to have exactly the same length.
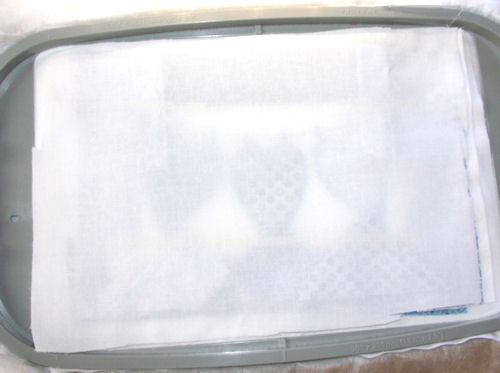
Now embroider the mugrug til the next-to-last color is done. This is explained in the instruction provided together with the mugrug file.
Fold both hangers once and tape them to the mugrug with the same distance to the edge. The open end is on the outside.
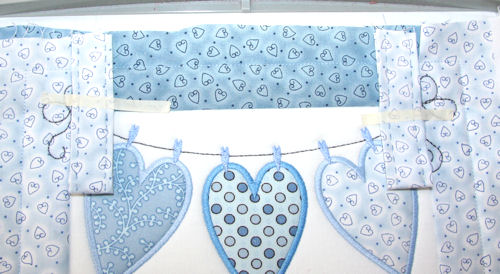
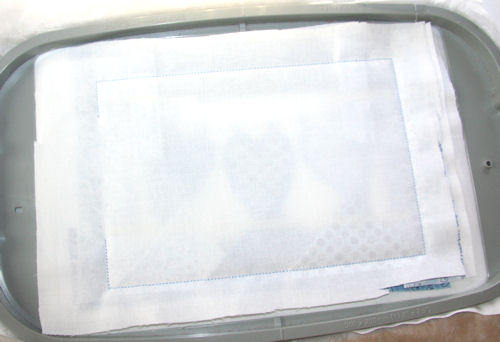
The triangles will be placed on the lower seam with overlap and the peak pointing to the inner of the mugrug. Open sides looking outside and overlap a little bit the outer seam ~1cm.

Tape them.
Now place the back side fabric and embroider the last color. Follow the embroidery instructions.
Ready! Done!
After the turning the hangers and the triangles get outside and your little nice wall hanger is done.
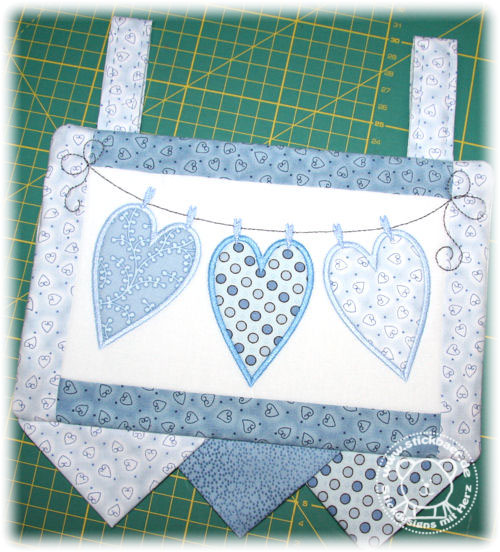
Now it is up to you to enhance it a bit more with buttons, loops and quilt stitches.
And, are you now in the mood for doing Mugrugs and Wall hangers?
You can get your copy from today in the Stickbaer Shop. We have the right size for everybody, actually you can chose from 4 hoop sizes.
Simply select your size.
I wish you a great weekend. All the best.

Schreibe einen Kommentar