Those of you that are members of the Stickbaer family for a longer time already know that every year in December we have some presents for you.
Of course our Stickbaer-Advent Calendar is the biggest gift we are making. Every day til Christmas you find here current embroidery files for less money.
But we also have some Freebies for you, together with detailled tutorial each.
So every Friday now you can find a new Freebie in the Stickbaer Blog for download.
………………………………………
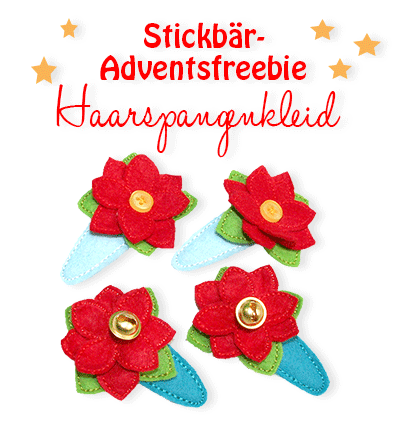
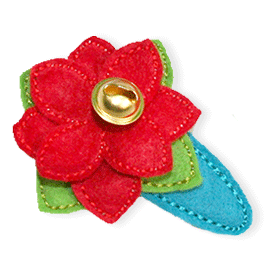
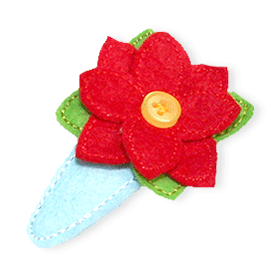
Today’s freebie is for all mums, grannies, bigger sisters of long-hair girls. We put together a tutorial, including the embroidery files, how to embroider a Poinsettia Hair clip Cover.

It is easy to do. You can do many, maybe for the Kindergarden friends?
Download the files here:
Stickbaer-Christmasfreebie-Hairclip Cover
In the Zip file you find in one folder with the embroidery files for the base, the pointsettia leaves and the poinsettia petals. Means 3 files, each in ART, exp, pes, dst, vp3, hus and jef formats.
They are made for the 10x10cm hoop. In one run you can do 2 covers.
And you need:
- hair clips of appr. 5cm
- wool felt 1mm in red, green and another colour
- pearls, bells or small buttons for the inside of the flower
……………………………………………………………………………………………………….
Let’s go:
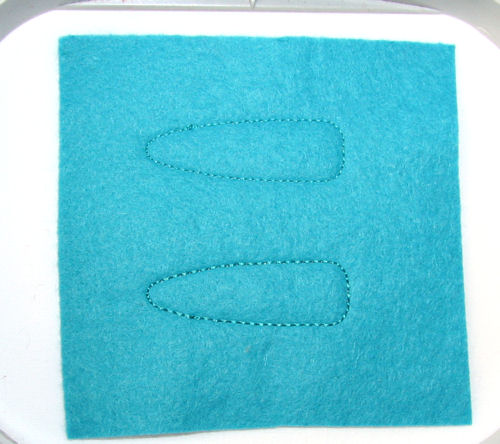
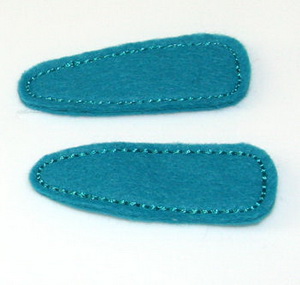
First we do the clip cover.
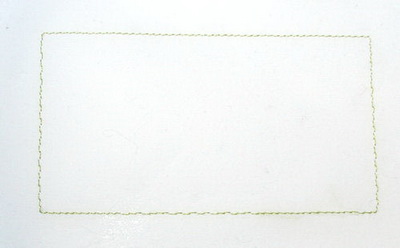
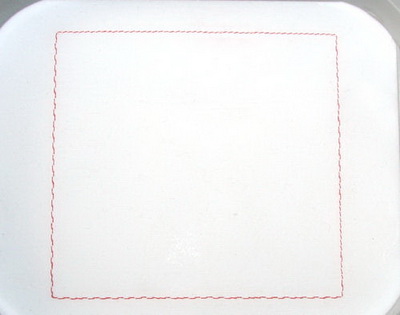
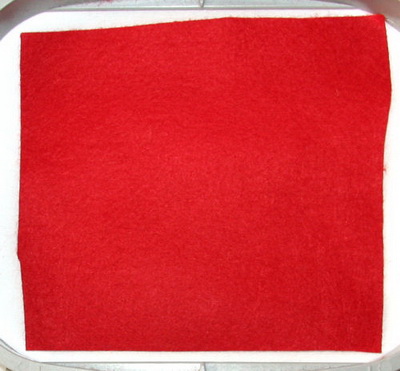
Use tear away fleece and embroider first color.
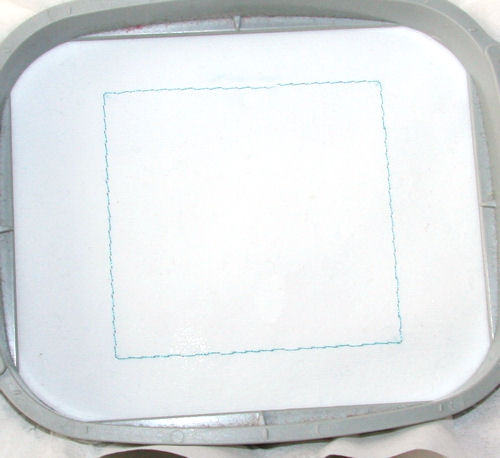
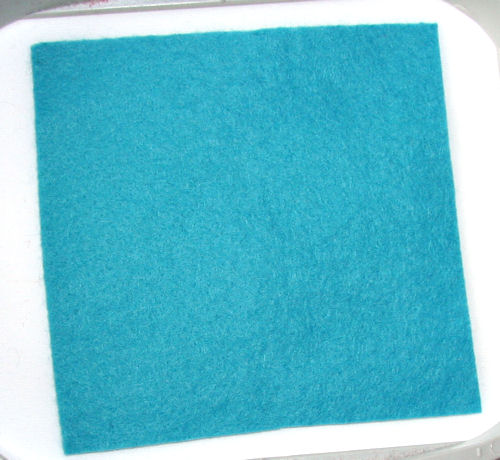
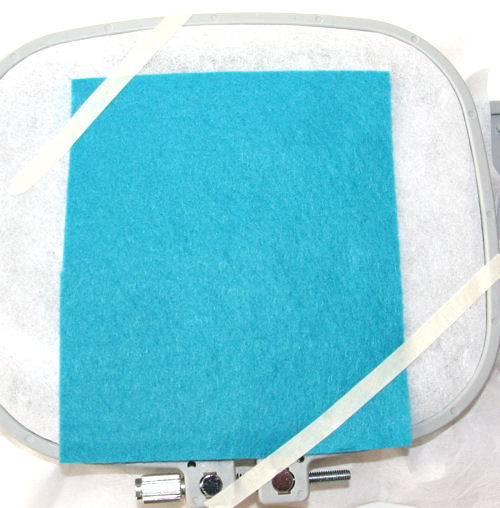
Place some felt.
Color 2 embroiders the edge of the clip covers.
Remove the hoop from the machine, NOT the fleece from the hoop.
Turn the hoop.
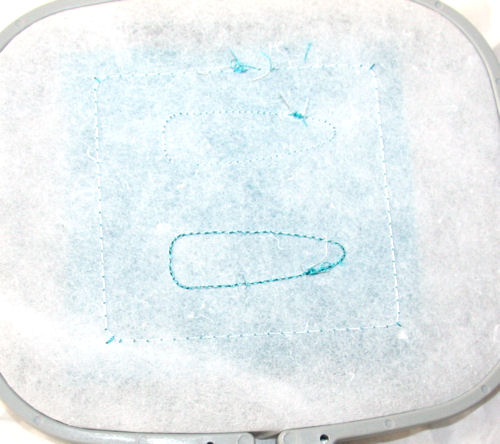
Place another piece of felt onto the backside overlapping the already done work.
Fixate it with 2-3 stripes tape.
Turn it again, front will be upside again, mount the hoop back to machine.
The last color embroiders now with a thicker stich thus sewing together front and back sides.
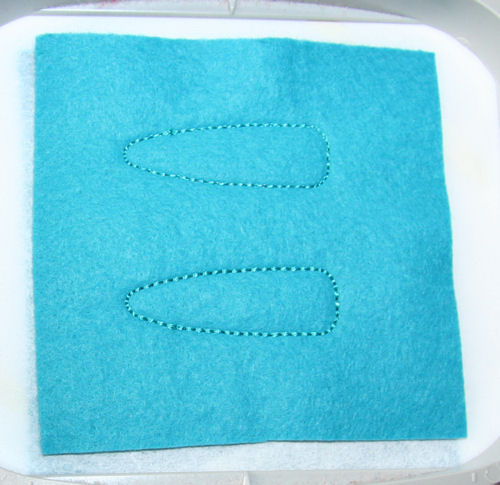
Now you can remove all from machine. Tear away the fleece and cut off the the covers with 1mm allowance.
Now, carefully, do not cut the seam, cut an opening from one side to the other.
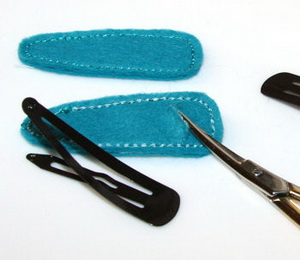
Look at the image how to pace the clip.
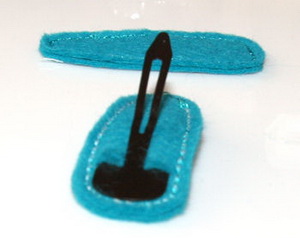
Use a curved sissors to hide the end of the clip.
You may want to close the opening with some stitches.
That’s so far for the cover, let’s proceed with the green leaves.
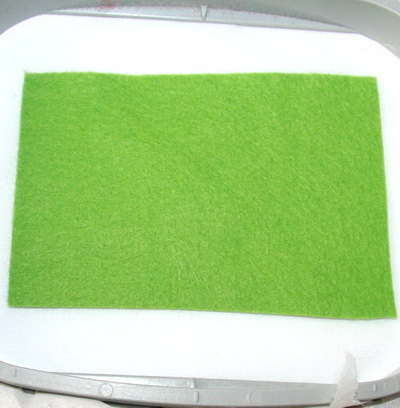
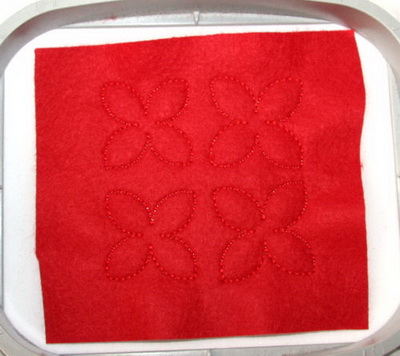
Take another fleece and clamp it to the hoop and embroider color 1.
Place felt and embroider color 2.
Chose a matching thread color.
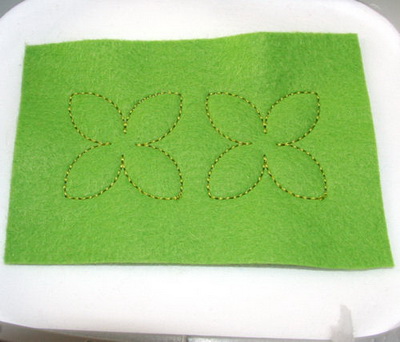
The red petals are made the same way.
…
…
Now you can cut all leaves with 1mm allowance. 2 red flowers are bigger then the others, they are the the bottom layer.
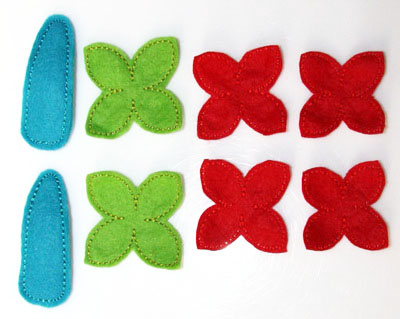
Stack your pieces a little bit rotated: green, bigger red, smaller red, fixate with a few stitches and add some embellishment, like bell or knob.
Or you use yellow pearls, or dots embroidered with thick wool.
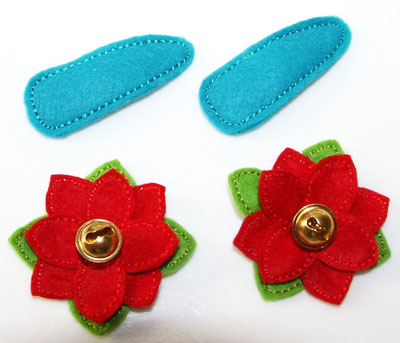
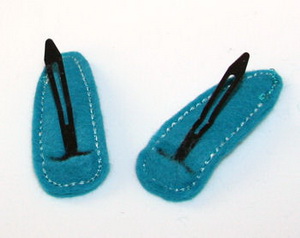
The final step is to glue the flowers onto the clip…
You are done. Easy, ha?
Can you hear the bell?
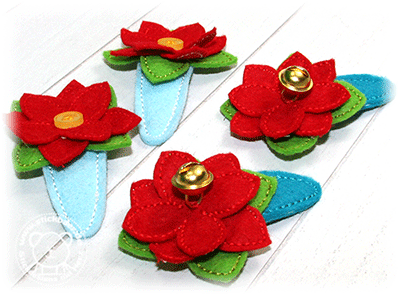
You can use other felt colors to create daffs, daisies or marguerites.
……………………………………
Enjoy our tutorial and of course the 2nd Advent sunday.
Liebe Grüße
Euer Stickbär und Eure

Schreibe einen Kommentar