Some weeks ago I reported to you about my newest gadget, the Accuquilt.
In the mean time I cutted a lot using it and today I wanted to show you how it works. It is so convincing that I never regret buying it, esp. because of the not small price.
(I cannot say this about some other toys I insisted to own…)
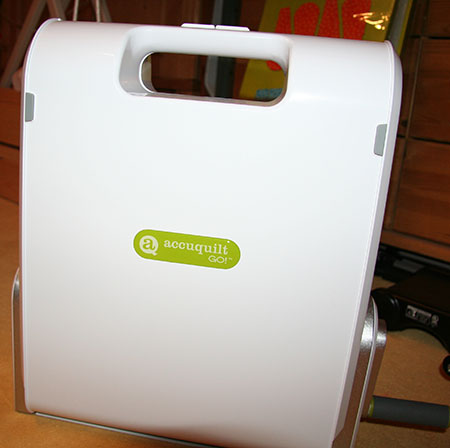
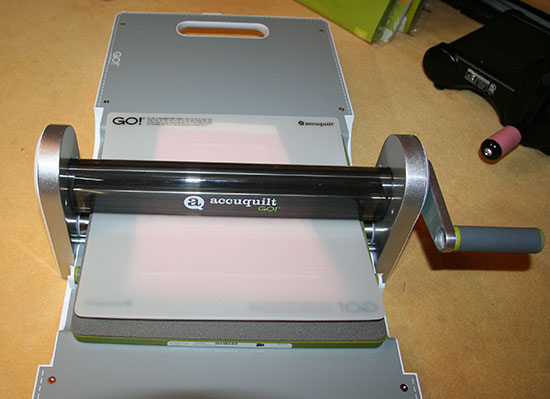
This is the Accuquilt looking when it is closed, you can easily carry it around, e.g. when meeting your „needle girls“ or simply for storing it.
When it is opened it is appr. 1m in length. You can see the cutting dies. There is a variety to buy from.
The dies are made from robust plastic, covered with a kind of foamed rubber. Where it needs to cut the blades are hidden in the rubber.

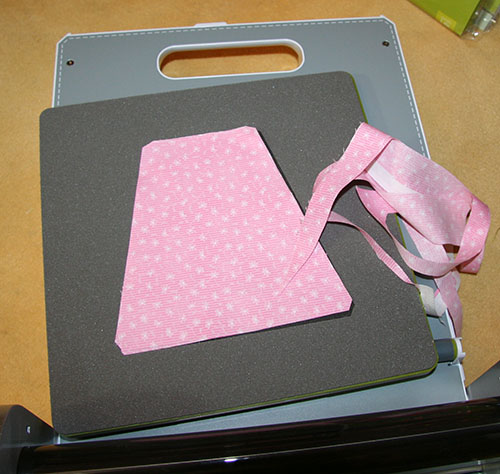
I am placing my fabric (up to 8 layers) onto the shape, with some overlap.
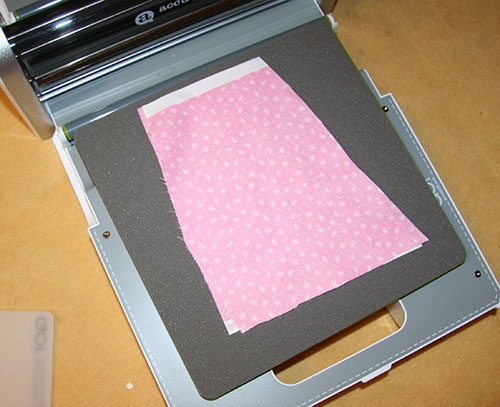
On top you put the cutting mat. Don’t forget that!
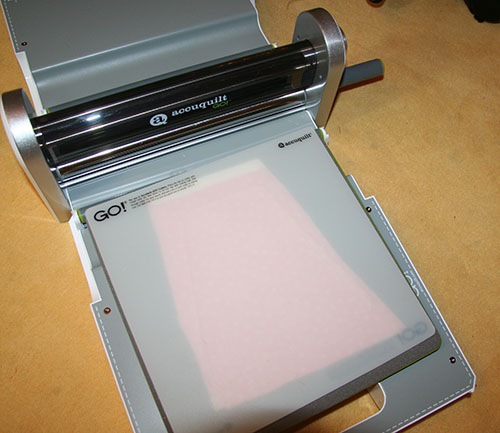
And now: crank, crank, crank. The cutting die, the fabric and the cutting mat will be cranked through the drums and your fabric will be cut out.
And then the fabric is looking like this: Super clean cut and event the little corners are cut away.
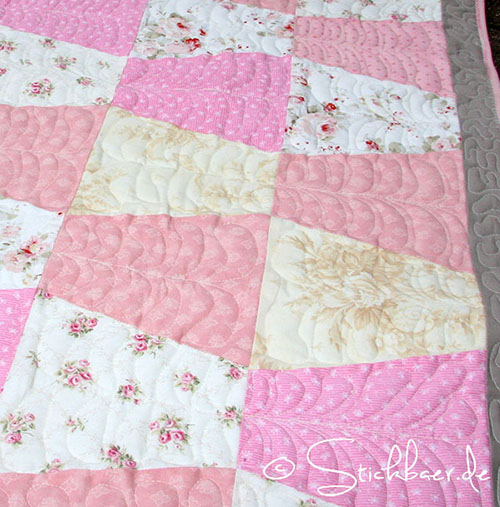
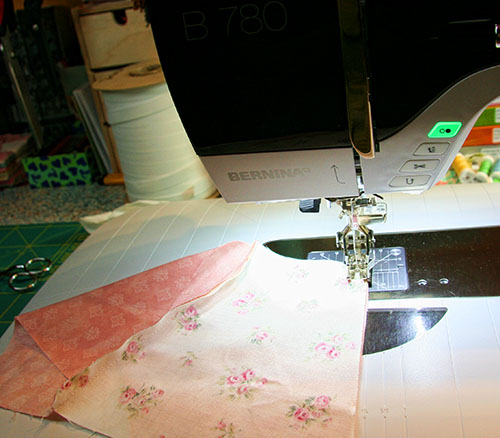
All pieces for my table cloth are cut in a few minutes.
Now, I only have to sew it all together. With the exact seam allowance and the patchwork feed this is done fast and easy and all matches perfectly.
A little quilting …
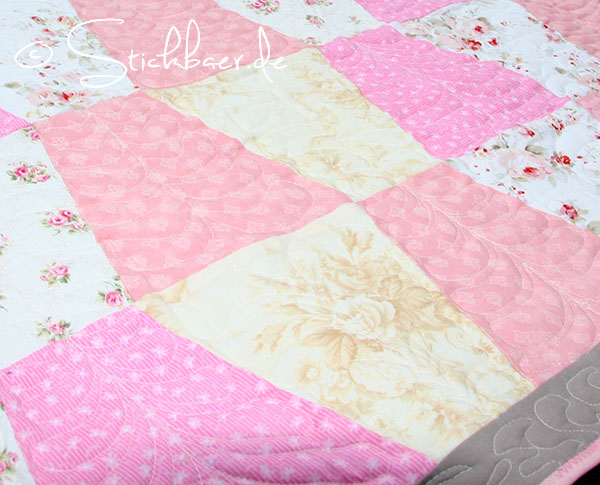
… and then quilting the border.
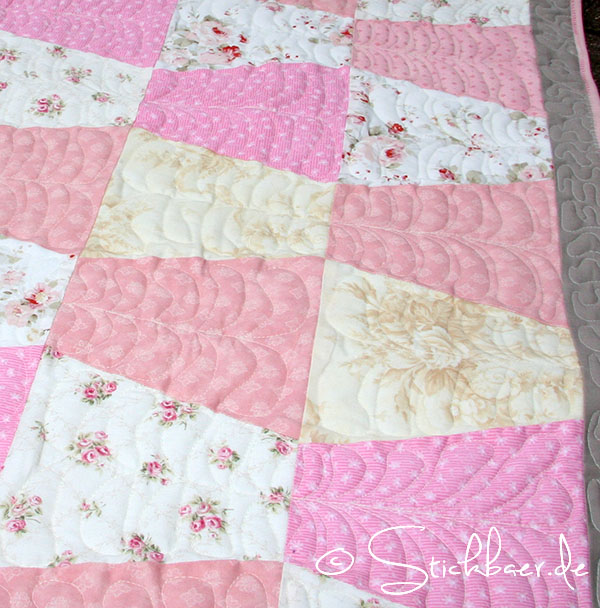
Done.
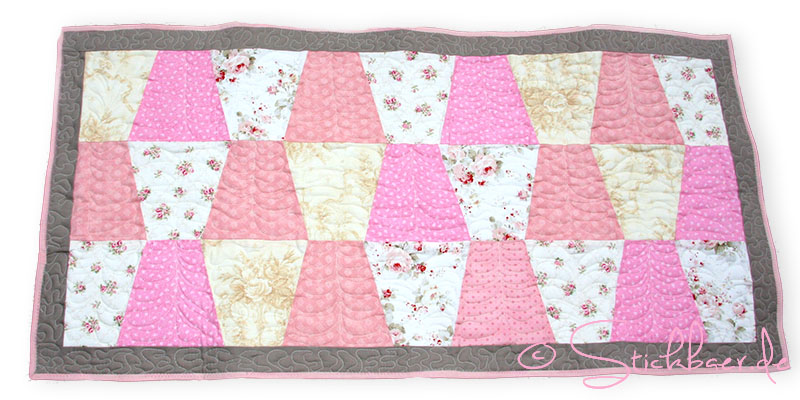
Honestly, there is a lot of useless gadgets out there. This is definitely useful!
Seid alle lieb gegrüßt
Eure

Schreibe einen Kommentar