
Sure you were waiting for this wishfully.
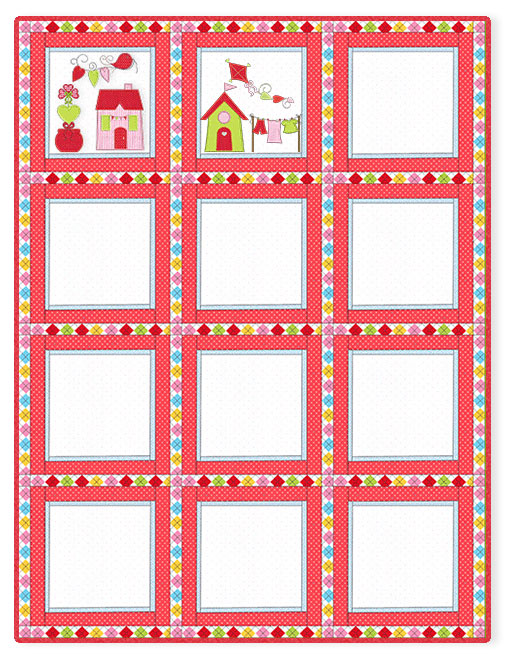
After starting with the first block of our Little Village Quilt Block of the Month some weeks ago time has come for the next, the second block.
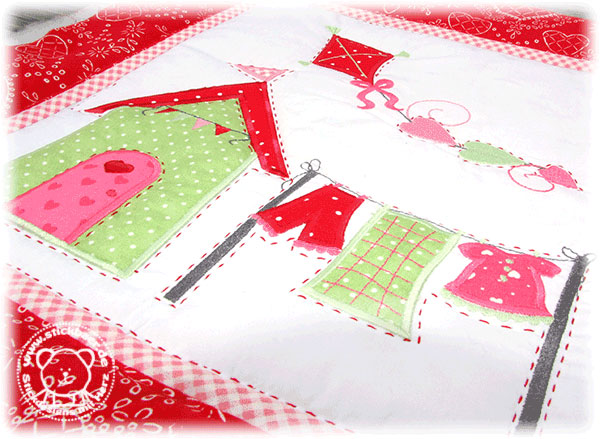
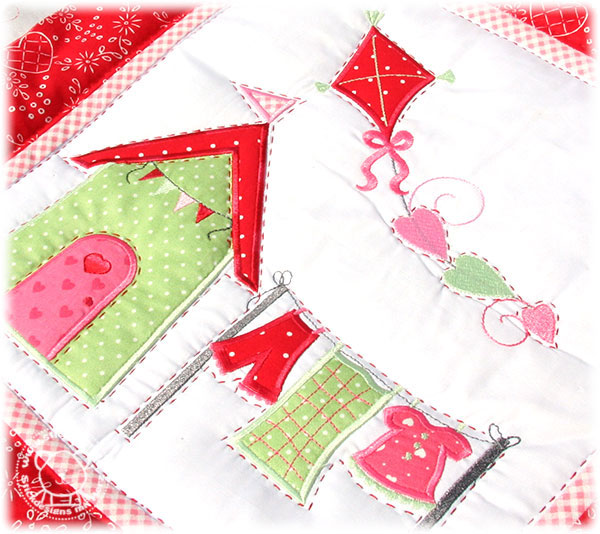
Since this is the August block and I promised that every block will suit the time of year, this block is a „fresh“ block with a beach house, a dragon and clothing in the wind.
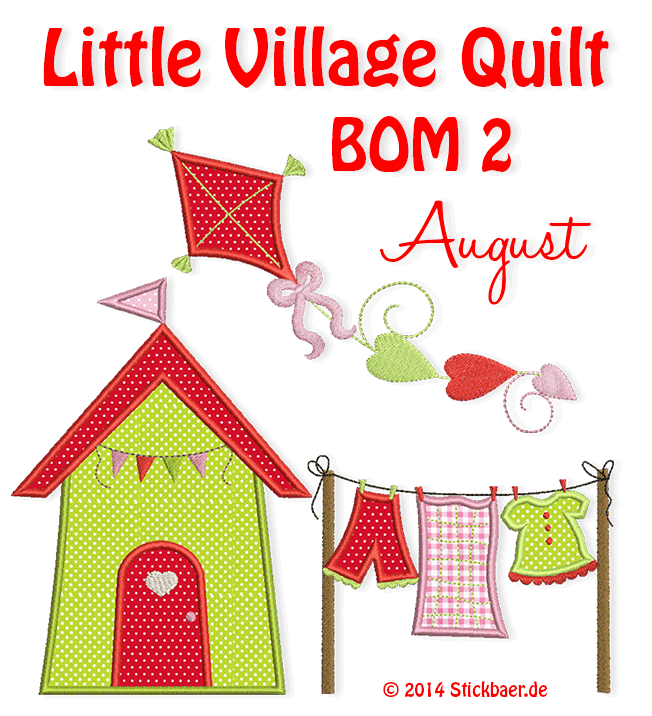
August and sea for me definitely goes together since we are going to the sea during our summer holiday.
……………………………………
Every month I want to share some sewing tipps with you.
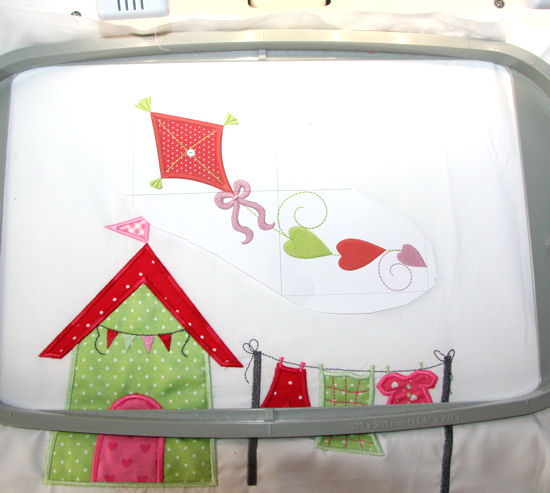
Some of you were asking how to best place the embroidery motifs.
The best is to print out the pattern that comes in the ZIP package. There is a cross for the center point.
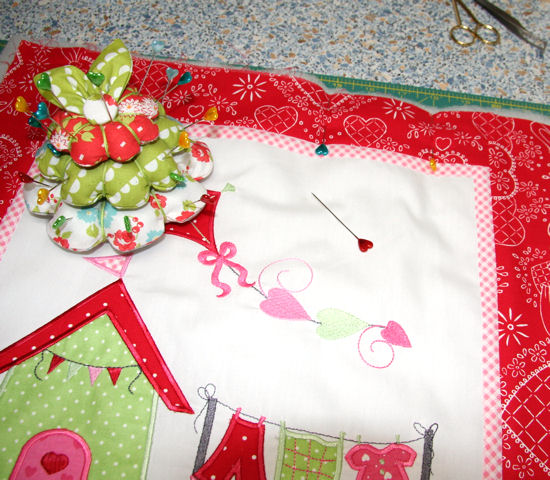
Look at the picture below. I have already 2 motifs embroidered. Now I am placing the pattern where I want to have the motif, fix it with tape (maybe) and then clamp the fabric to the hoop so that the center point of the pattern is the center point of the hoop.
All embroidery motifs are centered in the file so your motif, here the dragon will be in the right place.
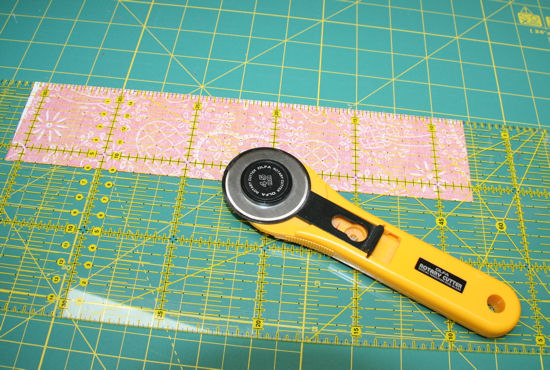
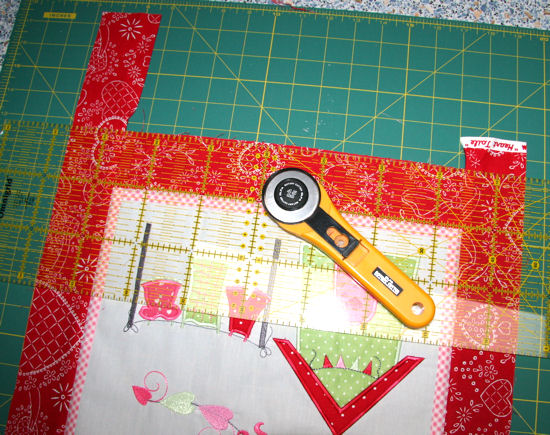
Here you can see how to cut the sashing strip. Look at the 6cm marker at the ruler. The fabric has to be exactly aligned to this marker.
When then cutting on the upper edge of the ruler with the rotary cutter your strip will be exactly 6cm.
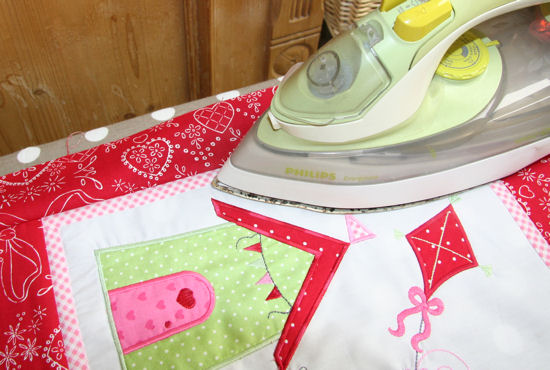
When you have sewed it on you have to iron it.
First a short press on the seams to flatten the seam allowance.
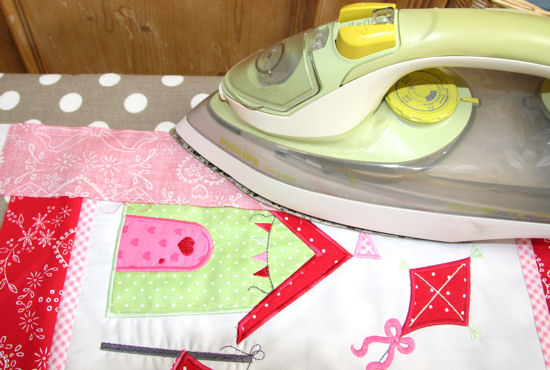
Now turn the strip and iron it. During this the allowances will be ironed to the darker side of fabric (where possible).
Cut the overlaying fabric. Use the ruler for orientation. All 4 sides have to have the same width.
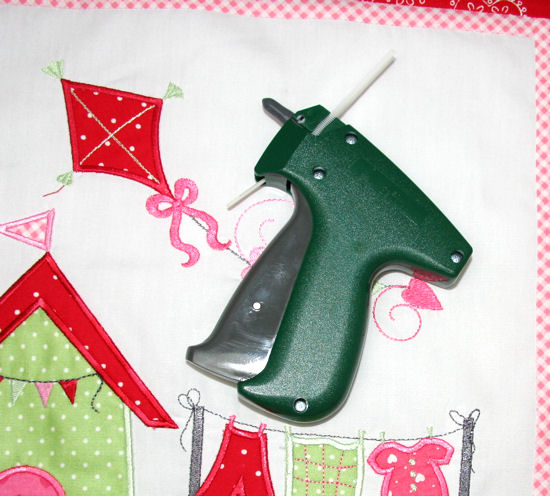
For sticking you could use these quilt needles …
Heften könnt Ihr entweder mit solch langen Quiltstecknadeln…
… or the „pistol“.
This one is „shooting“ little plastic thread through all 3 layers. After the quilting you can remove the threads easily.
Now lets quilt.
I surrounded each motif with small quilt stitches.
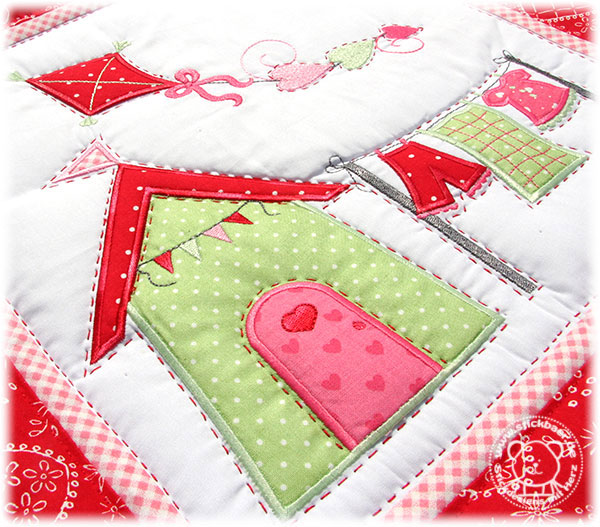
Even the ridge.
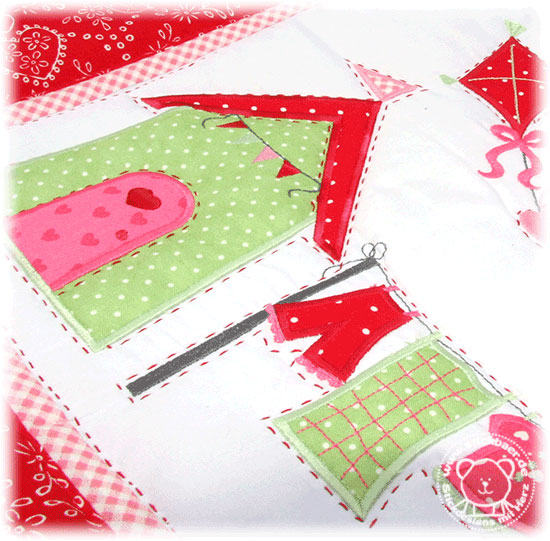
And each clothing on the clothesline.
Since my batting is really thick the stitches tighten the fabric.
This effect will enhance after 1st washing.
When you don’t like the effect use a batting of 0.5 or 1cm.
The 2nd block is done.

So my quilt grew a little bit..
And since we want you to grow your quilt from today you find the next block in our Stickbaer Shop.
Our „Little Village Quilt“ – Pinterest Gallery is filling up as well.
Please send in your pictures to share your project and to present your marvellous quilt blocks.
I wish you all a great weekend and send Friday wishes.
Eure

Schreibe einen Kommentar