Today I’m making you a gift. Or even 2. It is an embroidery file Freebie and a tutorial for a nice felt basket.
You can combine both by embroidering the freebie onto the felt basket, or just use each for itself.
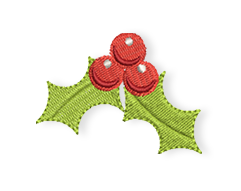
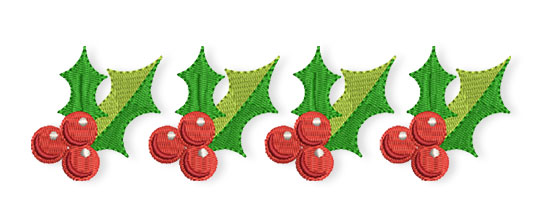
The freebie is an Ilex branch, small and nice, and a perfect motif when starting preparations for Christmas.
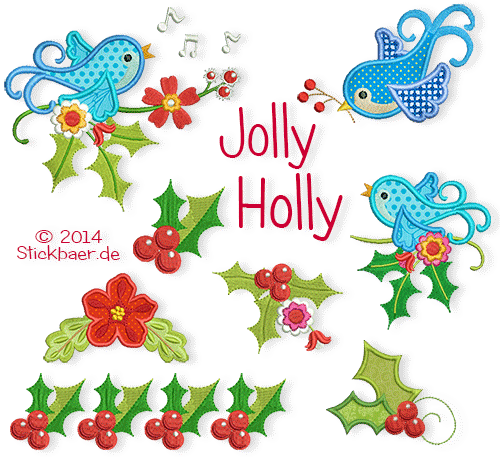
It is a goodie from our new embroidery collection released today in our Stickbaer Shop.
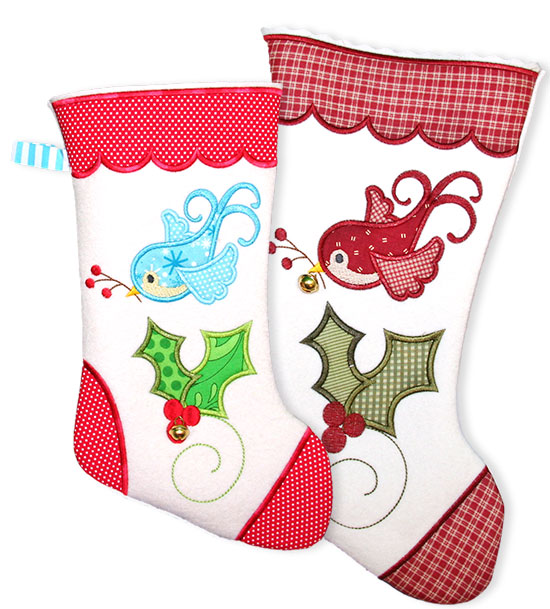
You already met it on our 2014 Christmas Stocking.
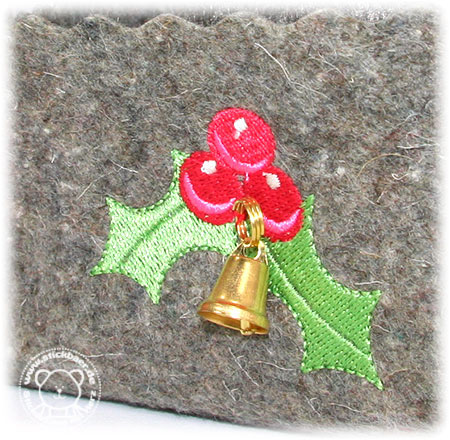
I like it on the wool felt.

Such felt basket is sewed in no time. You can leave it as it is, our embellish it with embroidery motifs.
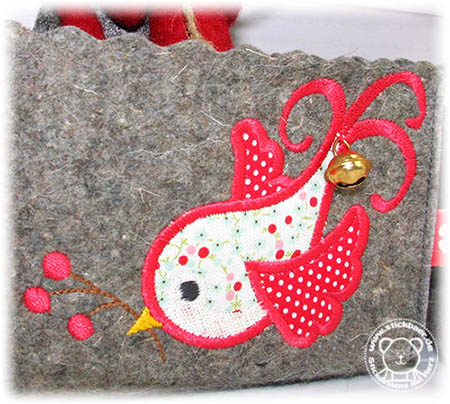
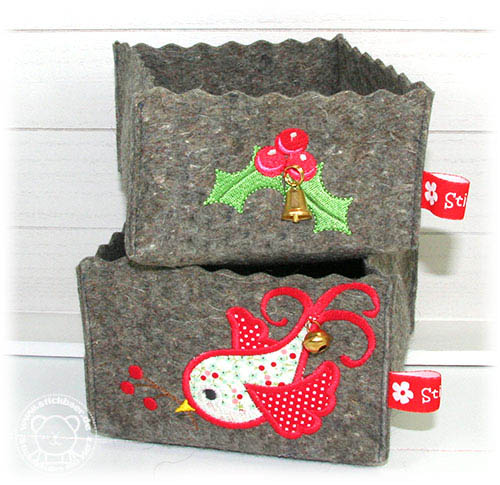
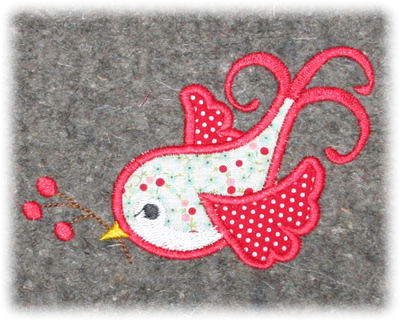
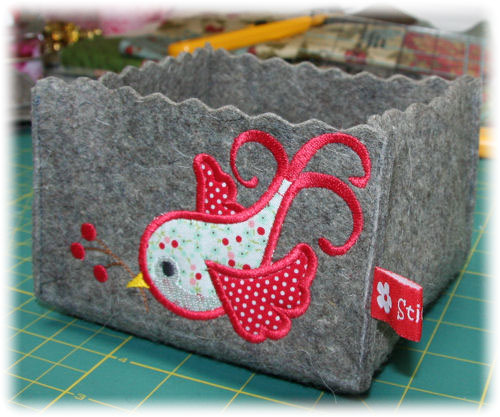
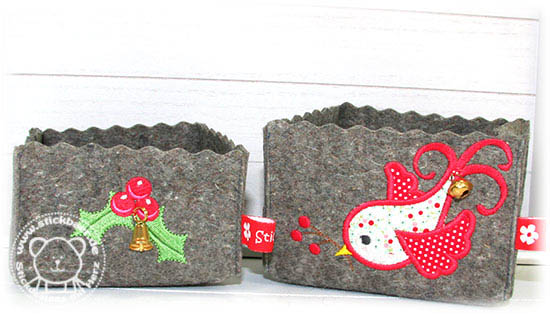
I did 2 baskets, one with the birdie from the embroidery collection „Jolly Holly“ and the other with the Ilex branch. The last you can download here:
Stickbaer-Freebie-Jolly-Holly-Ilex
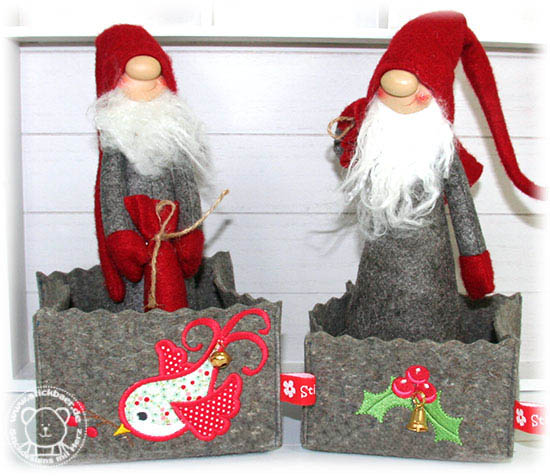
You can fill the basket with nuts, sweets or deco. See these guys taking care for the basket.
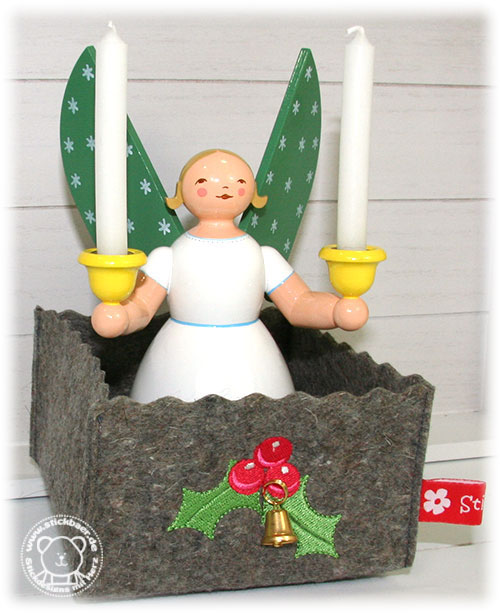
Maybe an angel…
Now I will show you how to do the basket.
Tutorial Felt Basket
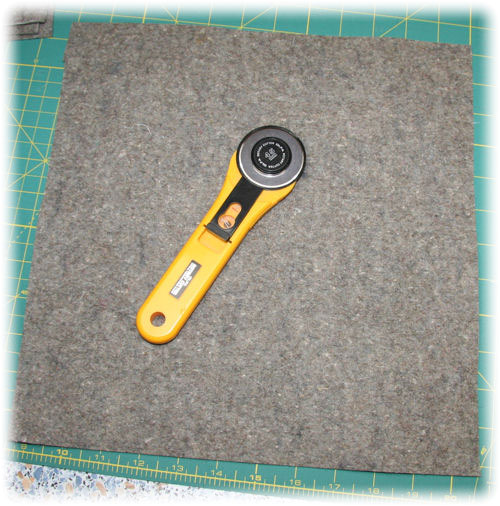
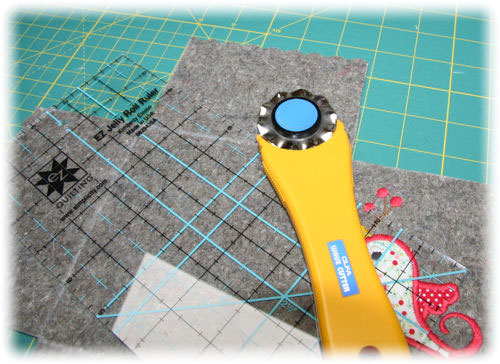
Cut a square felt, wool felt or textile felt. The felt needs to be a little bit heavier to have some stand. Not to soft.
Use a rotary cutter.
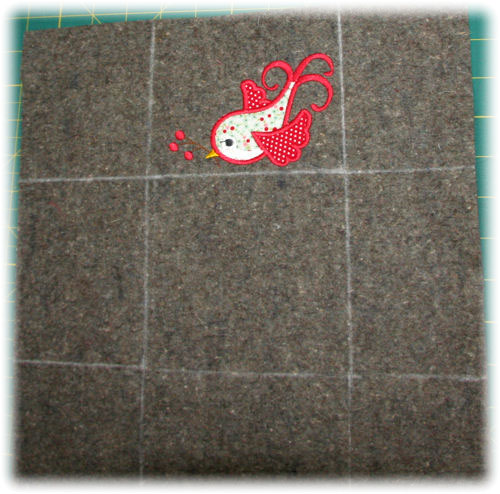
I want to use the birdie from my latest embroidery collection.
To correctly place it I have to divide the felt into 9 segments.
First draw the central square.
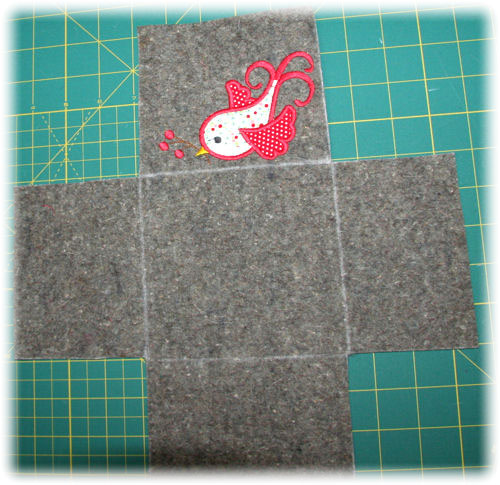
Now, extend the lines to the end of the felt. The 4 corner squares should have the same size.
Keep the right angles (although my picture is looking odd).
Now you found the place for your embroidery motif.
Cut off the 4 corners.
With the ruler and, when you have it, a waved rotary cutter, you cut the other 4 rectangles. Remember, they have to be the same length.
The waved edge is looking very special. However, sissors or the common rotary cutter will do the job as well.
Fell free to add rick-rack or braid later.
Sew together the central square and the side parts. Accurately place the pieces one above the other.
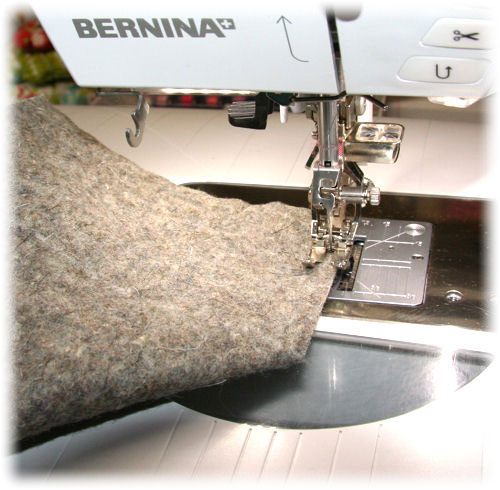
Sew close to the selvedge to the inner square.
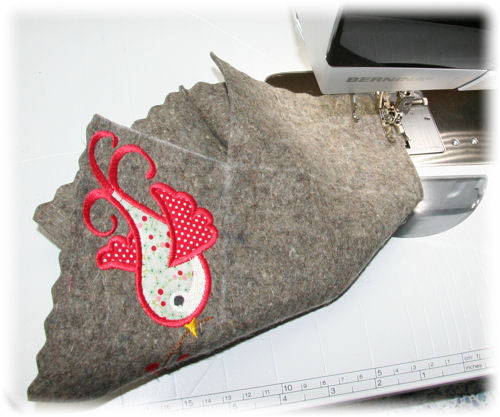
Finish all 4 sides. Maybe add some ribbon?
Add more decoration like this bell.
Cut out another piece of felt that suites to the back of the embroidery motif, if you like to hide it from the back.
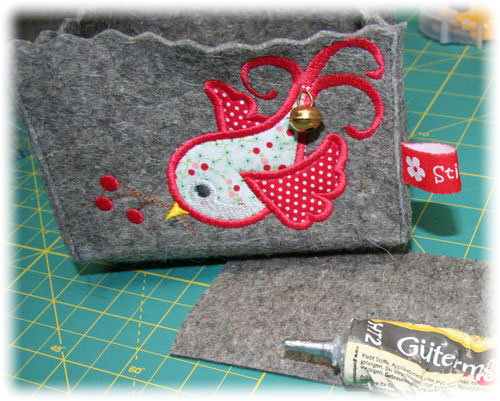
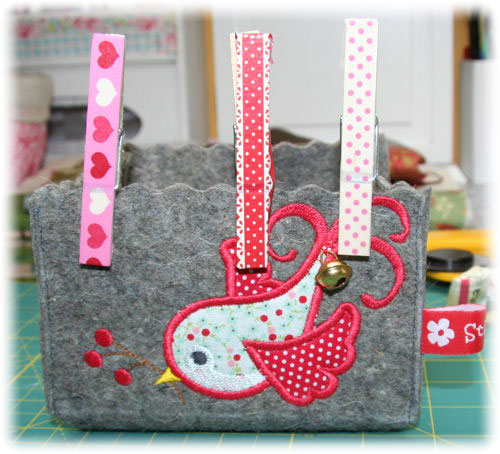
Glue it and secure it with pegs.
That’s it. 5 minutes without the embroidery.
Now you can do your second one. Vary the size or shape, maybe a hexagon?
I stay with my 2!
Or you use the ilex allover from our new embroidery file to embellish a bigger version of the felt basket.
Have a nice time and enjoy
- the new embroidery file „Jolly Holly“
- our freebie
- our free tutorial
Have a nice weekend .
Eure

Schreibe einen Kommentar